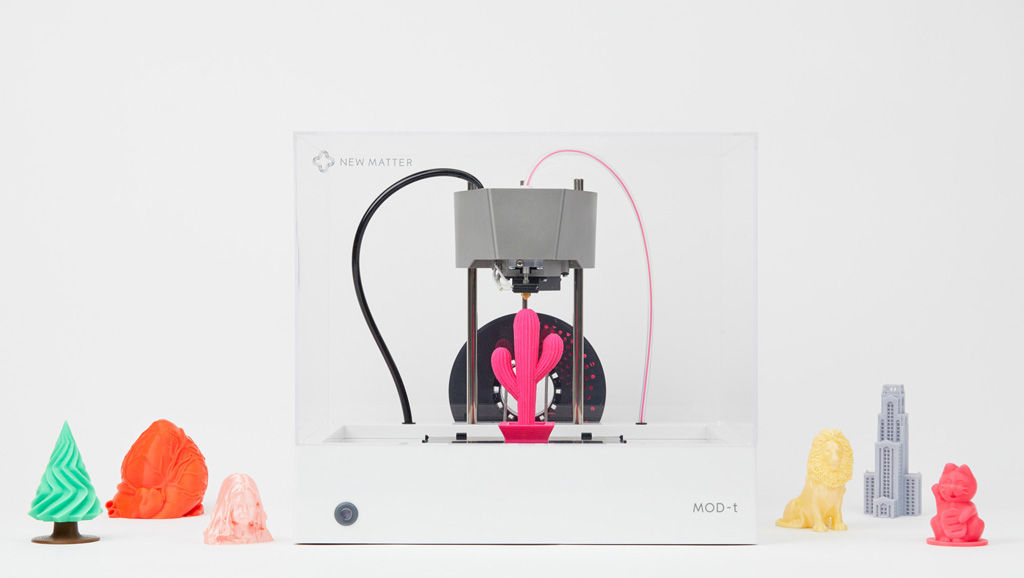
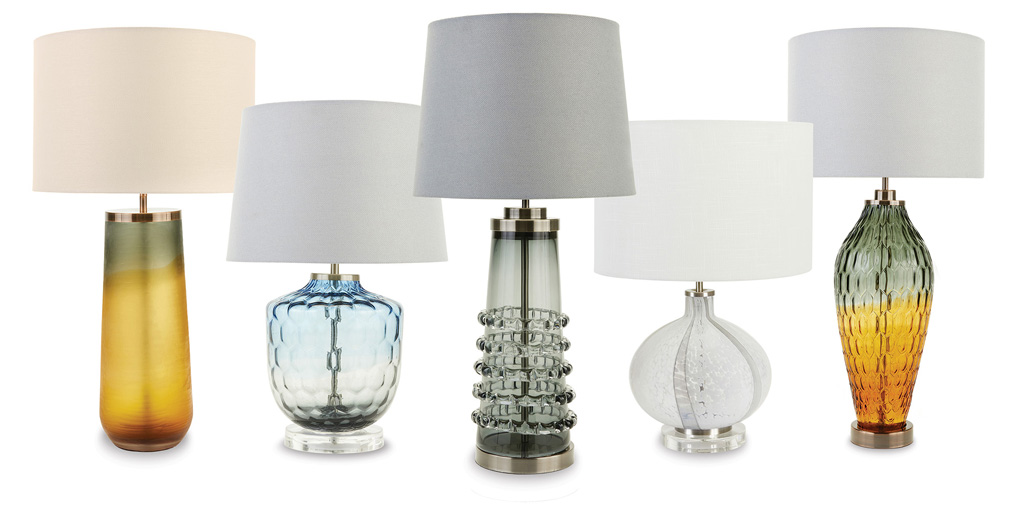
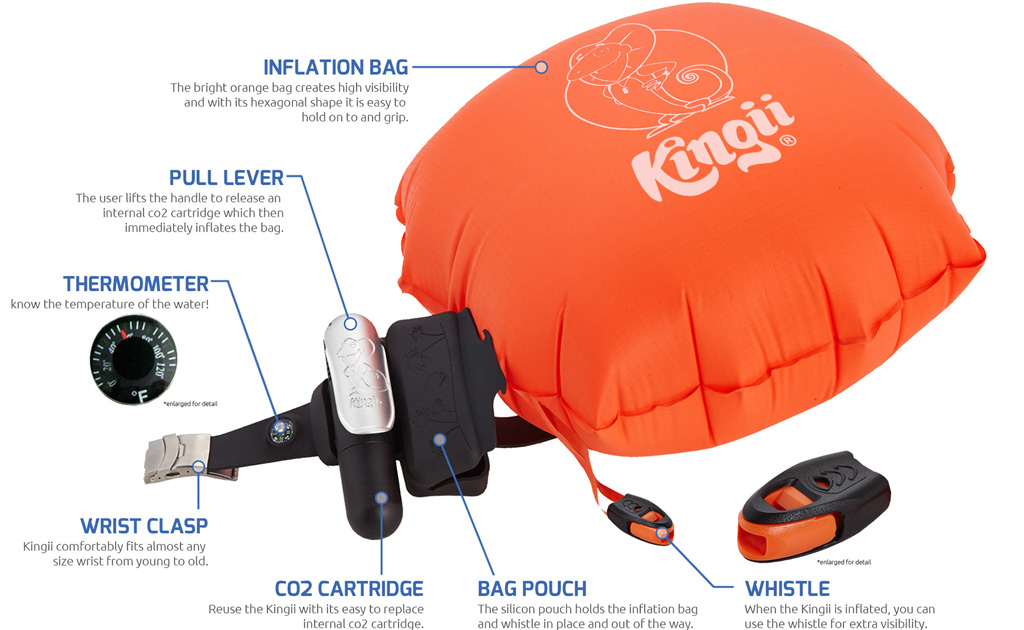
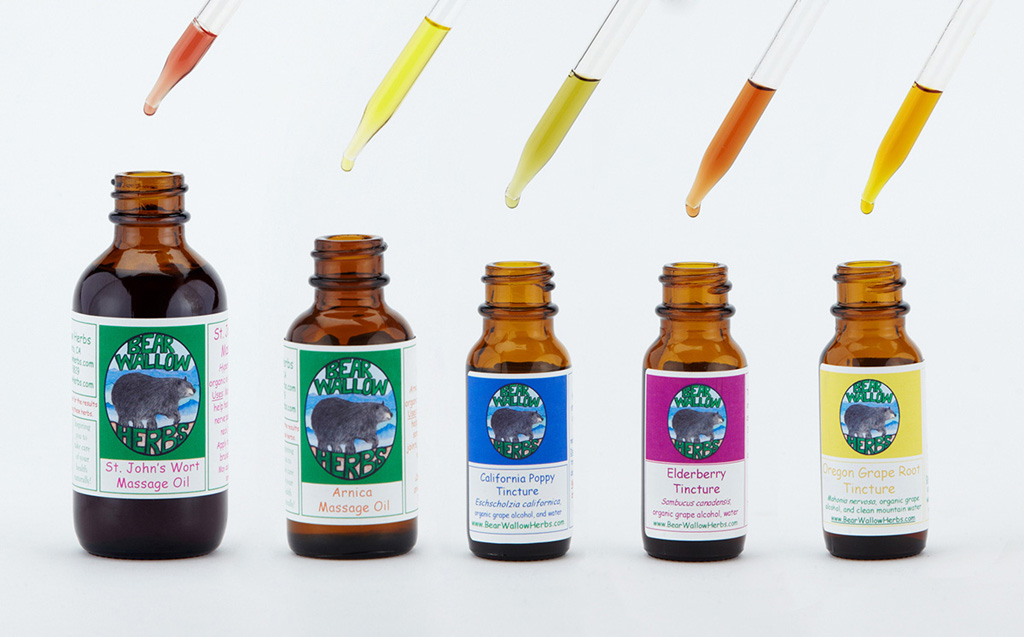
On today's blog, we'd like to introduce you to local photographer, Keith Berson. Keith has been kind enough to share his expertise in product photography to help us with a little "to-do" list for planning your own shoot and has extended an exclusive offer to our Jackalope Community!
Keith Berson
Hey there Jackalope community! I'm honored to be here as a guest blogger. I will tell you though, I am not a blogger or writer at all. I am a professional photographer who loves working with artisans, crafters, and designers. When an entrepreneur approaches me about photography for their product, I often find myself playing the role of a creative guide through the process. When it comes to creating imagery that represents your brand, you probably want various images for different uses. The more you plan your shoot in advance, the more successful it will be! If you have no idea where to start, then hopefully you will find this helpful.
WHAT KIND OF SHOOT ARE YOU PLANNING?
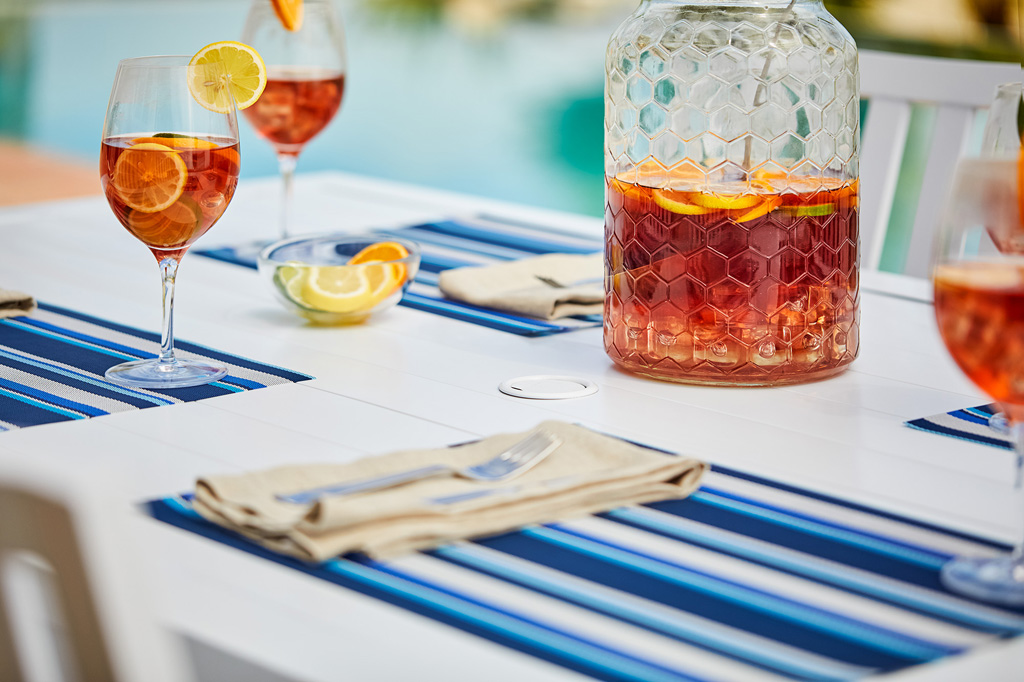
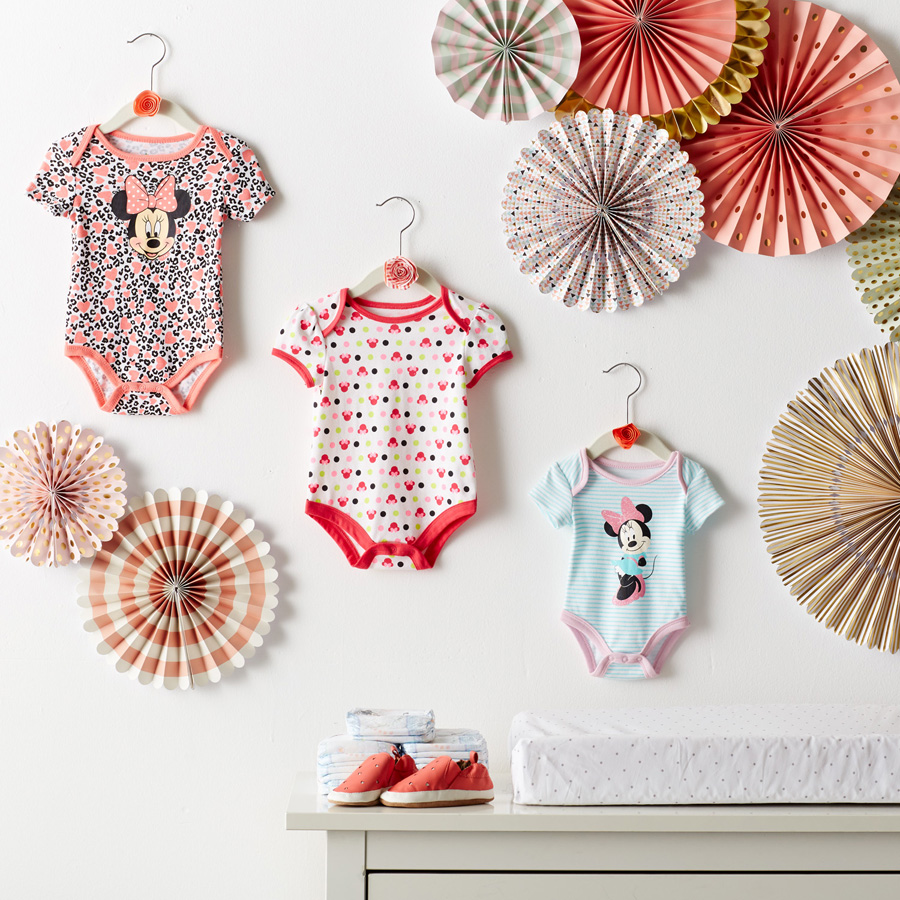
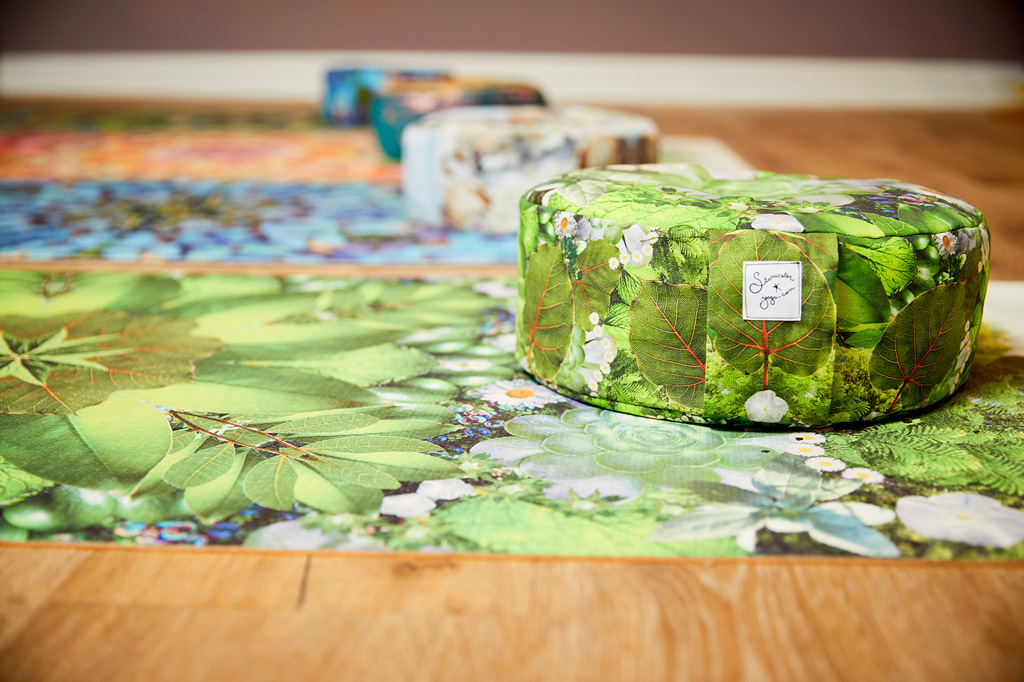
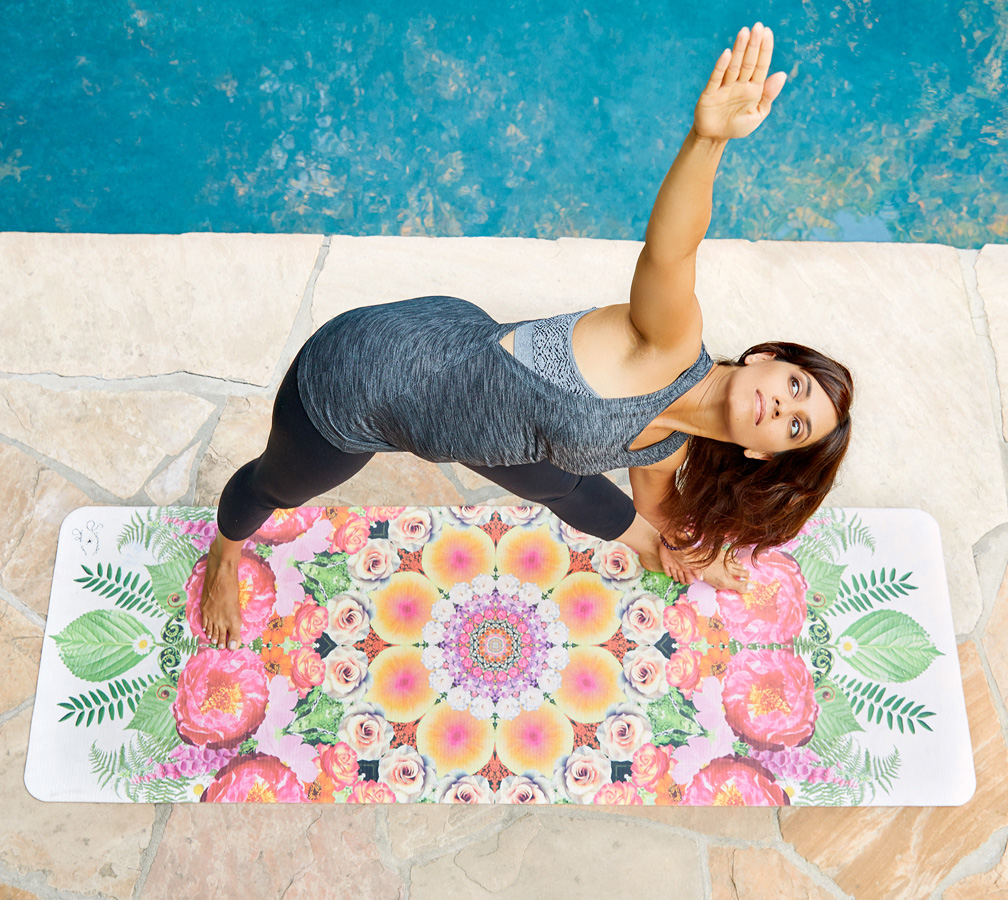
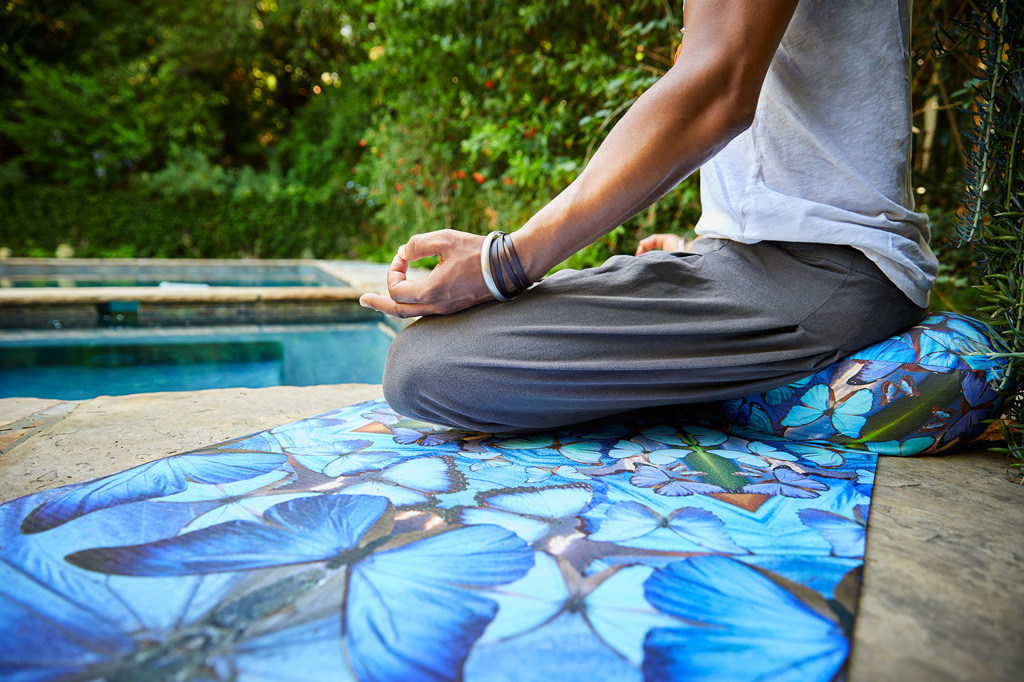
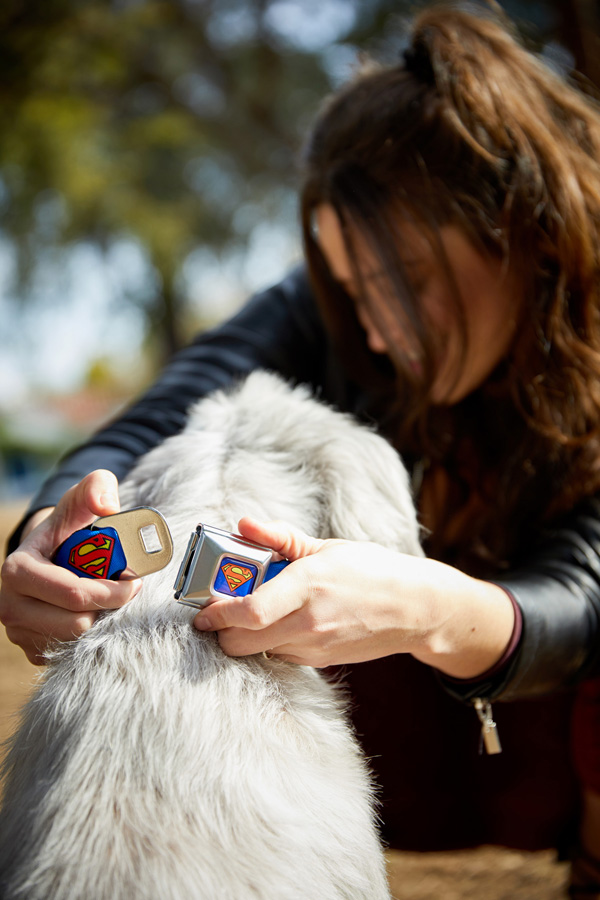
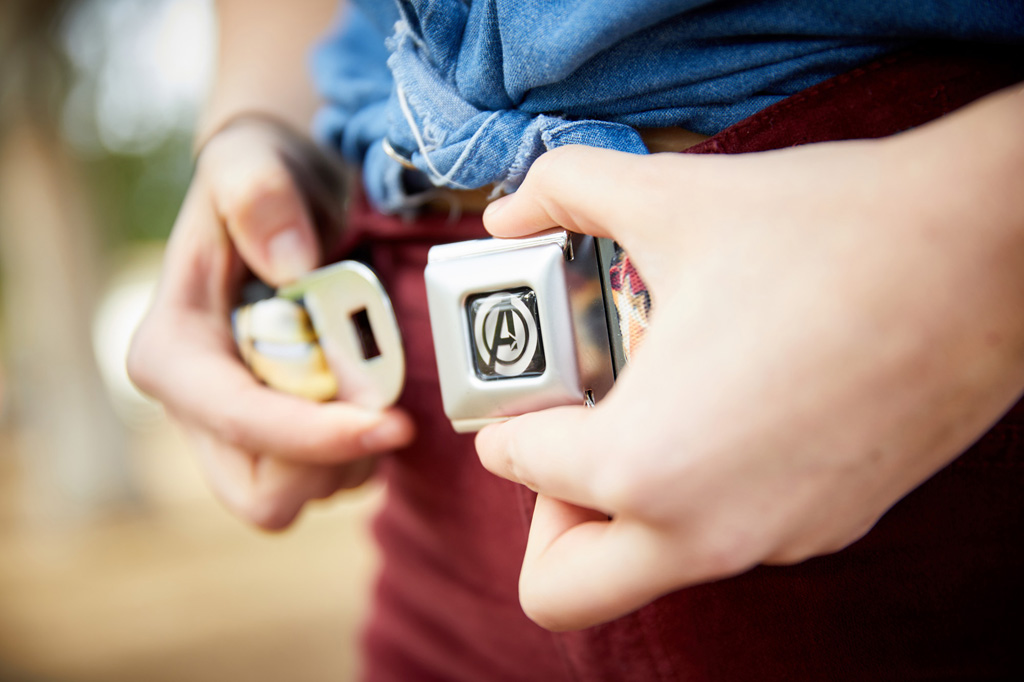
A great way to get started is by making a "shot list" of all the photos you want to create. This will help you figure out the size or scope of your shoot. Highly stylized images might be used for marketing via social media, on a booth sign, or on your website banners. It may be a still life of your product with other props, or an actual person interacting with the product. These types of images are meant to be narrative, and will help you connect with your demographic. You may also need basic product photos to be used for online stores, etsy shops, or to apply to sell in craft fairs. These shots are meant to show what the product looks like up close, without other objects to distract from your product. Often each product will need several angles, or extra detail shots to fully describe it.
If this seems like too much to take on all at once, the best thing to do is to figure out what your top priority is. Once you have that first shoot day under your belt, you will be able to easily plan your next steps. Each shoot comes with its own set of preparations and decisions that need to be made, and after each shoot experience, you'll be more ready for the next one!
PLANNING THE SHOOT
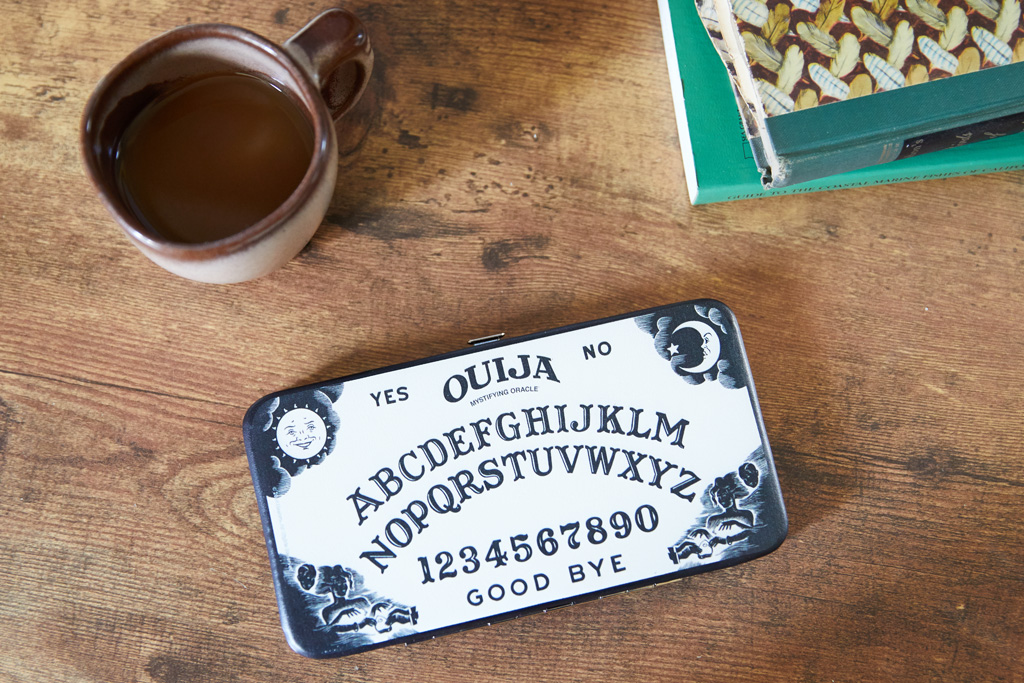
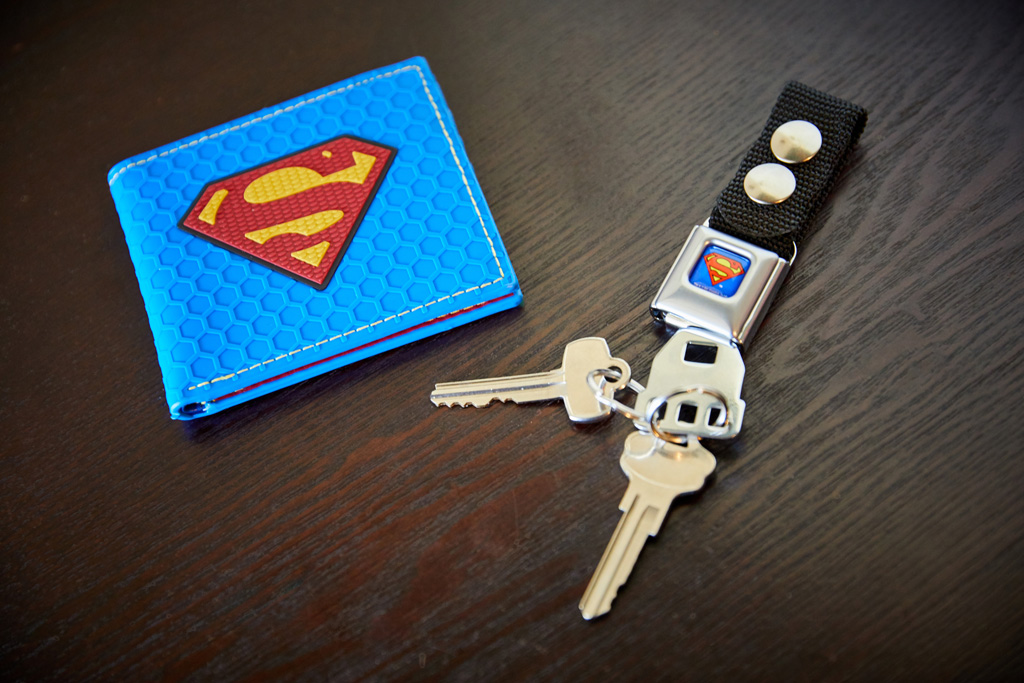
Let's dive right in and say you have a group of products that you sell online and at craft fairs, and you need a group of images that show each of your individual products in a way that cleanly and consistently represents your brand. You might also need some group shots to show multiple items together, which would help convey your aesthetic. The simple and traditional way to handle this would be to shoot everything on a white backdrop. However, that doesn't mean you can't be a bit creative with simple product photography. It's perfectly fine to choose a colored or textured background that compliments your product or branding. Some examples of this could be a table top, patterned fabric backdrop, or organic elements. This shoot should be done in controlled lighting to be sure it will remain consistent, and can be repeated should you add more products.
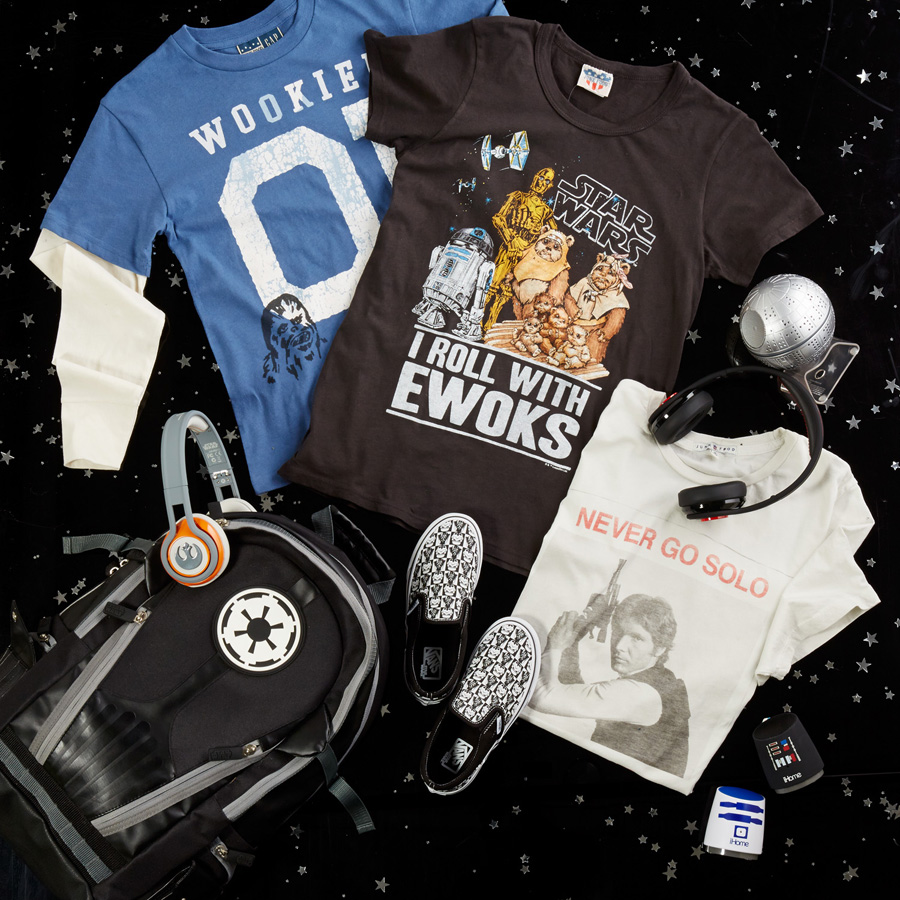
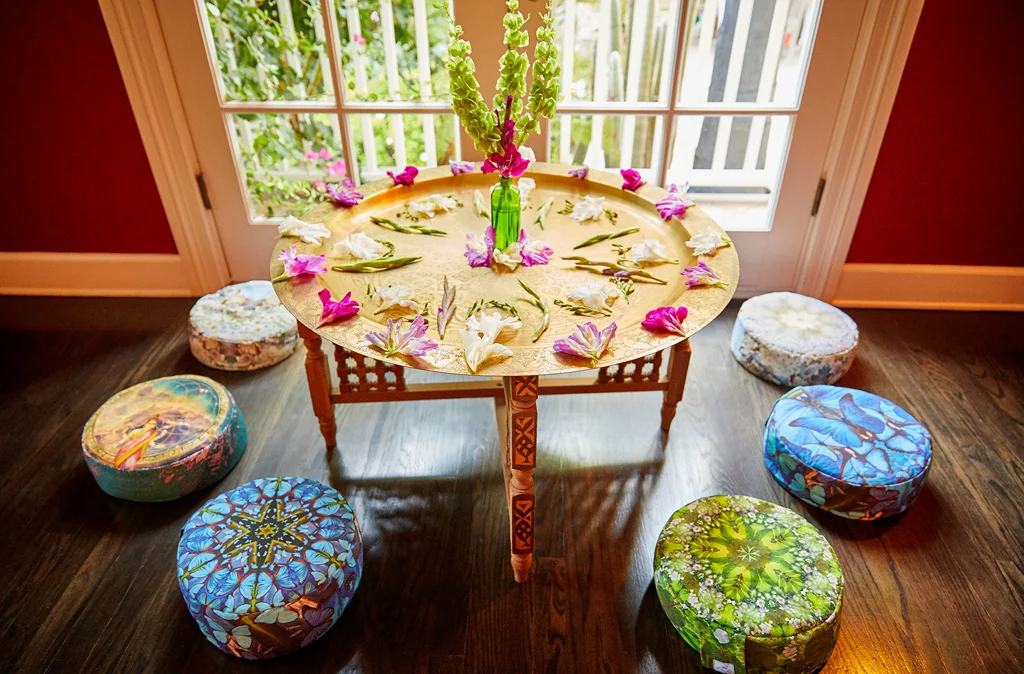
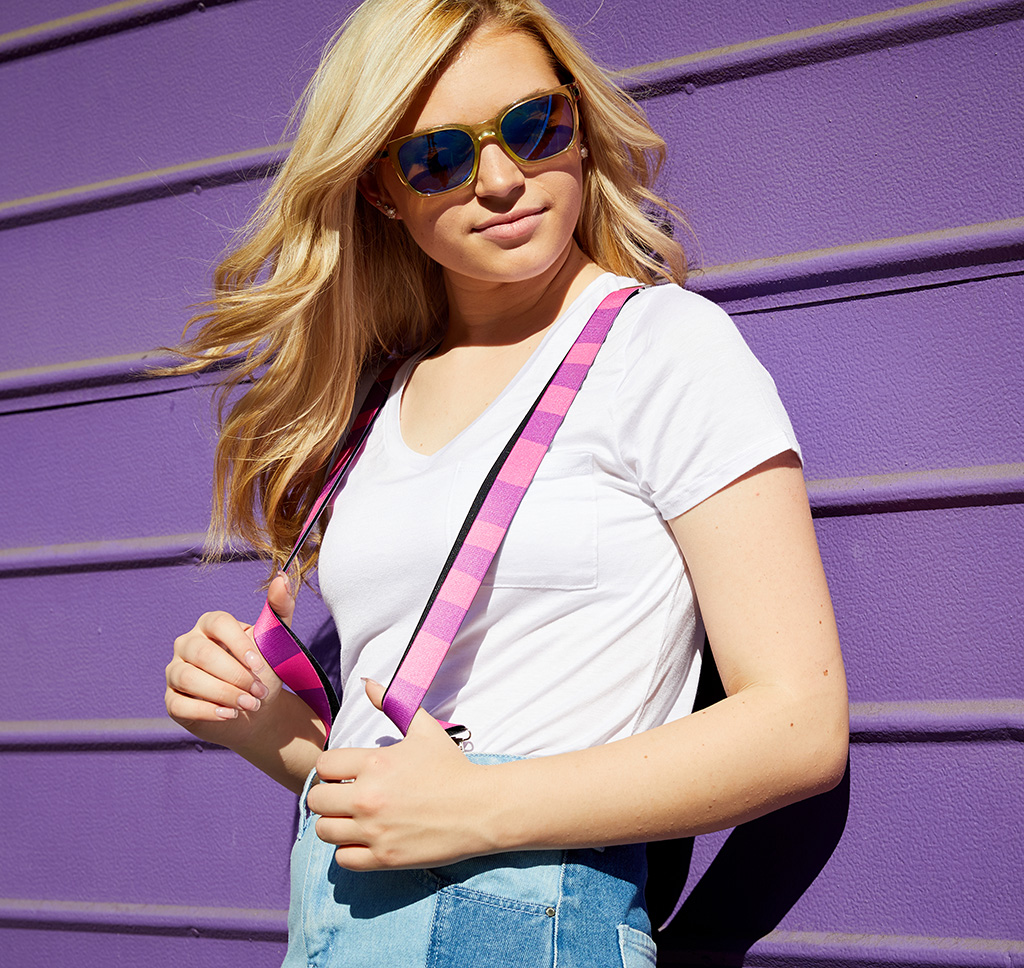
If you already have basic product photos, maybe what you really need is more stylized images for your website and social media. Grabbing people's attention online is often half the battle! If you're planning a still life or flatlay shoot, you will need to think about location, sourcing props and styling each set up. If you want to reach a specific demographic, you may decide that you need to have people interact with your product in the photos. Now you have to think about casting, wardrobe, hair & makeup, location, and possibly permits to shoot. Every product comes with its own unique challenges, but there are plenty of ways to make your product look desirable to potential shoppers.
MAKING IT HAPPEN
Photos are an essential part of your business, and the more preparation you do beforehand, the easier your shoot will be! Plan a prep day before the shoot to get everything organized. Double check you have all the products ready and safely packed for shoot day. Look very carefully at all your product to make sure it is photo ready, meaning it's the best example of what you have to offer. No crooked labels, scuffs, or scratches. Go though all your props and organize them as well by shot so nothing gets forgotten. Most importantly, find experienced team members that can be an extension of your creativity, and help actualize your vision.
- Communicate with your photographer (and stylist if you hired one) so your goals are clear.
- Give photo examples of other brands that are doing something similar to what you want to create.
- Don't try to take on more than you can handle in one day. You don't want to be distracted by missing products or props, cleaning or prepping product, giving directions to lost team members, figuring out lunch or coffee, or any other unforeseen occurrence.
If you think through your needs ahead of time, then on shoot day, you and your photographer can be focused on the creative side of things. Remember that photos are the #1 way to show people your brand!
More About Keith Berson Photography
Keith is always available to give free consultations to anyone planning a photoshoot. Sometimes you just need someone to ask you the right questions to get you going in the right direction.
In addition, Keith will be offering special pricing to the Jackalope community! Anyone who books and completes a shoot before the Spring Pasadena 2018 Jackalope Artisan Fair (coming up on April 28th & 29th) will receive a 25% price reduction on photography services, just mention Jackalope when booking!
Contact Keith for more info:
805.698.6707 | studio@keithberson.com


